January 12, 2026 • STAFF WRITER
Faux Wood Beams Made of Polyurethane: The Smartest Alternative to Real Timber for Residential and Commercial Projects
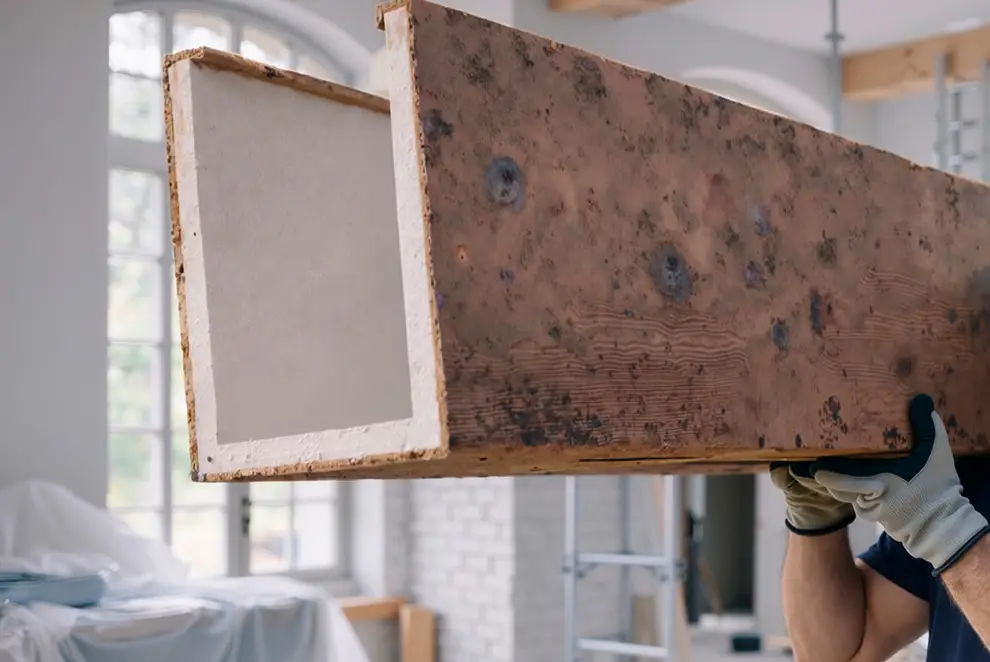
High Density Polyurethane · Interior / Exterior · 8 Texture Collections · Custom Sizes to 20 ft
Why Real Wood Beams Are Losing Ground
Architects, contractors, and homeowners across the United States face a recurring dilemma: they want the warmth and visual authority of exposed wood beams — but real timber brings weight, rot, warping, insect damage, and maintenance costs that do not fit modern construction budgets or timelines. In Florida and other high-humidity climates, solid wood beams can fail within a decade without constant treatment.
At Decorative Architectural Products, we see this challenge every week. Clients come to us after expensive experiences with real wood — beams that sagged, split, or required complete replacement after hurricane season. The question we keep answering is: what gives you the look of authentic timber without the engineering liabilities? The answer is polyurethane faux wood beams.
What Are Polyurethane Faux Wood Beams? Material Science Explained
Polyurethane (PU) rigid foam is a closed-cell polymer manufactured through a chemical reaction between polyol and isocyanate components. Unlike EPS, polyurethane has a denser, more homogeneous cell structure, which gives it superior hardness, impact resistance, and dimensional stability. Decorative Architectural Products beams are cast using high-pressure polyurethane machines (Graco H-XP2 Reactor), ensuring consistent density throughout every beam cross-section.
| Property | Value |
|---|---|
| Density | 2.0 – 4.5 lb/ft³ (varies by product line) |
| Compressive strength | 25 – 60 psi (ASTM D1621) |
| Moisture absorption | < 2% by volume (ASTM C272) |
| Thermal conductivity | 0.022 – 0.028 W/(m·K) |
| Operating temperature | −40°F to +180°F |
| UV resistance | Stabilized with UV-inhibitor additive packages |
| Flame spread index | Class A or B per ASTM E84 (finish-dependent) |
Faux Wood Beam Collections — Decorative Architectural Products Catalog
Decorative Architectural Products produces faux wood beams in 8 core texture profiles, each engineered to replicate a specific timber species or aging treatment. All textures are available in custom RAL or Pantone color matching.
| Sanded Style | Clean, smooth grain for contemporary interiors |
| Hand Hewn Style | Irregular chop marks, authentic hand-crafted appearance |
| Rough Hewn Style | Deep relief, industrial and farmhouse aesthetics |
| Barn Wood Style | Weathered, reclaimed look for rustic designs |
| Rough Sawn Style | Visible saw marks, mill-cut realism |
| Brushed Texture Style | Soft directional grain, Scandinavian aesthetic |
| Grainy Style | Prominent open grain for tropical wood simulation |
| Weathered Style | Faded, cracked surface for maximum aged authenticity |
Polyurethane vs. Alternative Materials — Engineering Comparison
| Parameter | Polyurethane (Decorative Architectural Products) | Real Wood | Concrete | Metal |
|---|---|---|---|---|
| Weight (lbs/ft) | 0.5 – 1.2 | 5 – 15 | 18 – 30 | 8 – 25 |
| Moisture resistance | Excellent | Poor | Good | Moderate |
| UV resistance | Excellent | Poor | Good | Good |
| Rot / insects | Immune | Vulnerable | Immune | Immune |
| Install time | Fast | Slow | Very slow | Moderate |
| Customization | Full CNC/3D | Limited | Mold only | Limited |
| Maintenance | None | Regular staining | None | Periodic |
| Lifespan (years) | 20 – 30+ | 10 – 20 | 30+ | 20 – 30 |
| Cost (relative) | $$ | $$$ | $$$$ | $$$ |
A 12-ft polyurethane beam from Decorative Architectural Products typically weighs 6–14 lbs total — vs. 60–180 lbs for comparable solid timber. This eliminates crane requirements on most residential projects.
Decorative Architectural Products Production Process — From Brief to Delivery
Step 1: Client brief and project scope review
Step 2: 3D design and CAD modeling — beams modeled to spec, custom lengths up to 20 ft
Step 3: Mold fabrication — press molds with thermal jackets for dimensional accuracy
Step 4: High-pressure polyurethane casting — Graco H-XP2 Reactor, 250+ lbs/hour output
Step 5: Surface texture application — grain patterns applied during casting or post-cast CNC detail
Step 6: Polyurea hard-coat layer — applied via Graco RTX 1500 TexSpray for impact protection
Step 7: Paint and color finishing — Cross Flow Automotive Paint Spray Booth, HVLP/LVLP
Step 8: Quality control inspection — dimensional check, surface review, load test sampling

Real Project Case Study — Coastal Florida Residential Development
| Challenge | Developer needed decorative ceiling beams for 24 luxury homes. Original spec: reclaimed pine — flagged for moisture risk, 14–18 week lead time. |
| Constraints | Hurricane zone 120 mph wind load, salt-air exposure, HOA color spec: Benjamin Moore Antique White. |
| Solution | 192 Hand Hewn Style polyurethane beams, polyurea hard-coat, factory-painted. Project weight reduced by 73% vs. timber. |
| Results | 4-person crew completed all 24 homes in 11 days (vs. 6 weeks estimated). Delivered 3 weeks ahead of schedule. Zero moisture callbacks in 2 years. Labor & logistics savings: ~$38,000. |
Engineer’s Field Notes — Common Mistakes and Best Practices
Never install polyurethane beams without a mechanical fastener — adhesive alone is insufficient for beams longer than 8 ft in exterior applications.
For exterior ceiling installations in Florida, always specify polyurea hard coat of minimum 40 mils dry film thickness. Thinner applications may delaminate under thermal cycling.
Contractors often undersize beam cross-section for visual effect. The correct rule: beam width should be no less than 1/12 of ceiling height for proportional authenticity.
Do not use latex caulk to seal joints between beam sections — use a polyurethane sealant rated for thermal movement (e.g., Sikaflex-15LM or equivalent).
Color matching in factory is always more accurate than field painting. If a color change is required on-site, use 100% acrylic exterior latex — oil-based paints cause adhesion failure on polyurethane.
Minimum bend radius for curved beams: 48 inches. Tighter radii require laminated construction specified at the design stage.
Certifications, Standards, and Warranty
| ASTM D1621 | Compressive properties of rigid cellular plastics |
| ASTM C272 | Water absorption of core materials for sandwich constructions |
| ASTM E84 | Surface burning characteristics — Flame Spread / Smoke Developed Index |
| Florida Building Code | Compliance for high-velocity hurricane zones (HVHZ) |
| ASTM G154 | UV stabilization tested to minimum 2,000 hours cycle exposure |
| Warranty | 10-year limited manufacturer’s warranty on delamination, color fading, dimensional stability |
Economic Analysis — Total Cost of Ownership
Material cost: 20–40% lower than comparable real hardwood beams per linear foot.
Logistics: 70–85% weight reduction translates directly to lower freight cost and elimination of heavy-lift equipment.
Labor: installation is 3–5× faster than solid timber — no structural reinforcement required for decorative applications.
Maintenance cost over 15 years: near zero vs. $800–2,000 per beam for staining, sealing, and pest treatment for real wood.
For a 20-home development with 10 beams per home at 12-ft length, conservative total savings vs. timber average 45,000-90,000.
Who Benefits — Value for Three Types of Buyers
Economic Buyer (Developer / Investor / HOA Board)
Reduced TCO over 10–15 year asset lifecycle
Faster project completion — earlier revenue or occupancy
Eliminates warranty risk from wood moisture damage
Scalable: same spec across 10, 50, or 500 units
Technical Buyer (Architect / Engineer / Contractor)
Full ASTM data sheet available on request
CAD files and cross-section drawings provided for every product
Dimensional tolerances held to ±1/16″ across all CNC-routed profiles
Wind load compliance documentation for Florida HVHZ available
End User (Homeowner / Resident)
Looks and feels like real wood — guests cannot tell the difference
No splinters, no cracks, no annual painting
Immune to termites and mold — critical in Florida and coastal climates
Safe and lightweight — no injury risk from a falling bracket
Environmental Impact
No old-growth forest timber consumed in production
70–85% weight reduction vs. timber reduces freight fuel consumption proportionally
Zero chemical treatment required — no formaldehyde, no CCA preservatives, no annual stain solvents
Polyurethane trim waste recycled through PolyMax 5500 Densification Systems (250 lbs/hour capacity)
Lifespan of 20–30 years without replacement reduces total lifecycle material consumption
Checklist for Architects and Contractors — 10 Selection Criteria
Confirm installation environment: interior, covered exterior, or exposed exterior
Define wind load requirement for the project zone (especially Florida HVHZ)
Select texture profile aligned with architectural style
Specify beam cross-section dimensions proportional to ceiling height (1:12 minimum ratio)
Confirm color specification — RAL, Pantone, or Benjamin Moore match
Determine hollow vs. solid construction based on installation method
Request ASTM data sheet and warranty certificate
Verify hard coat thickness specification for exterior exposure grade
Confirm lead time — standard 7–10 days, custom up to 15 business days
Order 10% overage for on-site trimming and contingency
Installation Guide — How to Install Decorative Architectural Products Faux Wood Beams
Decorative Architectural Products polyurethane faux wood beams are designed for straightforward installation on any flat structural substrate — drywall, wood, concrete, brick, or stucco. No heavy equipment required. A two-person crew can typically complete an average room in 4–6 hours.
| Interior Installations | Additional for Exterior |
|---|---|
| • Hand Saw or Miter Saw (for trimming to length) | • Tyvek HomeWrap or similar (over concrete/brick/stucco) |
| • Power Drill and 2×4 lumber (for blocking) | • Caulking Kit and Paint Kit for finishing |
| • PL Premium Construction Adhesive (exterior) or PL 200 (interior) | • Tapcon Fasteners (for concrete, stucco, brick substrates) |
| • 1.625″ Non-Corrosive Deck Screws and 2.50″ Deck Screws for ledgers | • Circular or Table Saw for long cuts |
| • Stud Finder, Chalk Line, Tape Measure, Framing Square, Level | • Framing Square for angle verification |
| • White Caulk (polyurethane-rated), Caulking Gun, Wood Filler for screw holes | |
| • Safety Glasses, Gloves, Breathing Protection (sawdust during cutting) |
Note: PL Adhesive alone is NOT recommended for interior drywall projects — always use mechanical fasteners as the primary attachment method.
Step-by-Step Installation
1. Preparation and Acclimation
Allow beams to acclimate in the installation environment for at least 24 hours before mounting. Ensure the substrate (ceiling, wall, or soffit) is clean, dry, and free of debris. For exterior installations, apply Tyvek HomeWrap over concrete, brick, or stucco before installing.
2. Measure and Mark
Measure the inside width of each beam channel to determine blocking dimensions. Locate ceiling joists or studs with a stud finder and mark center points along both sides of the beam run using a chalk line. Use a large and small level — do not rely on the floor or existing ceiling as a reference. Mark all installation points before cutting any material.
3. Install Wood Blocking
Cut 2×4 lumber to match the inside width of the beam. Attach wood blocking to the ceiling every 3–6 feet along the beam run. If studs or joists do not align with the blocking position, use Molly bolts or toggle bolts to secure blocking to the ceiling. Blocking is the primary structural anchor for the beam — it must be solid before proceeding.
4. Cut Beams to Size
Measure each beam span individually — ceiling dimensions are rarely perfectly uniform. Cut beams slightly long and dry-fit first, then adjust. Place the beam flat (back side up) when cutting with a circular saw or table saw to protect the textured face. Use a hand saw or utility knife for small trim cuts. Sand or rasp any rough edges before installation.
5. Apply Adhesive and Mount Beam
Apply construction adhesive in an ‘S’ pattern to the back of the beam (the three interior surfaces that will contact the blocking and ceiling). Slide the beam over the wood blocking, press firmly into position, and check level. Drive finishing screws through the beam sides into the blocking. Countersink all screw heads so they sit flush below the surface.
6. Finishing Touches
Fill all countersunk screw holes with wood filler and allow to dry. Apply a bead of color-matched caulk where the beam meets the wall or ceiling. Touch up filled areas with paint matching the beam finish. All exposed raw material from cuts must be painted — unpainted polyurethane will discolor under UV exposure.
| Substrate | Screws | Adhesive | Caulk |
|---|---|---|---|
| Wood | Deck Screws | PL Premium | White Caulking |
| Concrete / Stucco | Tapcon Screws | PL Premium | White Caulking |
| Brick | Tapcon Screws | PL Premium | White Caulking |
| Drywall | Drywall Screws (into blocking) | PL Premium | White Caulking |
Important: Failure to follow these installation instructions may void the Decorative Architectural Products product warranty. Review local building codes before installation — strapping may be required for exterior applications in some jurisdictions.
Conclusion
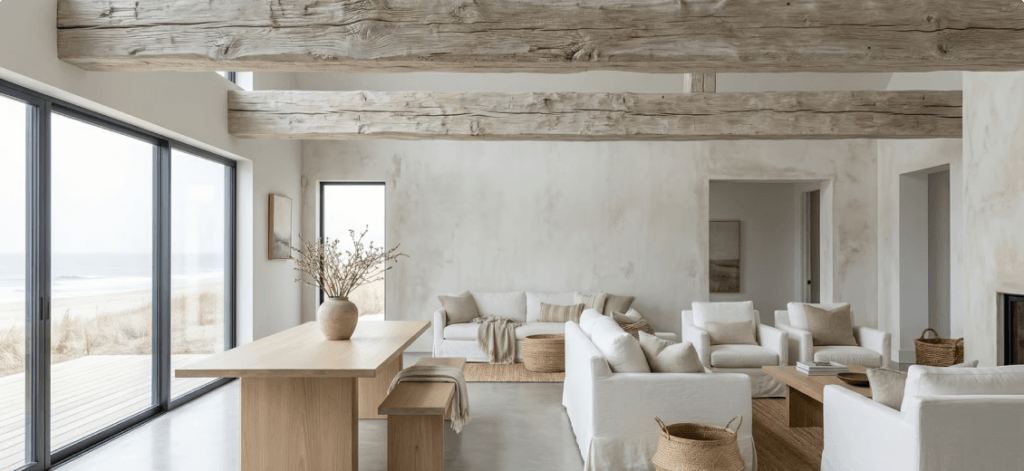
Polyurethane faux wood beams represent a technically sound, economically superior, and aesthetically convincing alternative to real timber for the vast majority of residential and commercial architectural applications. They eliminate the known failure modes of wood — rot, insects, warping, weight, and maintenance cost — while delivering the visual warmth and character that timber has always represented.
At Decorative Architectural Products, we do not believe in compromising aesthetics for practicality. Our production process — from high-pressure casting through CNC detail work and polyurea hard-coat finishing — is designed to produce beams that a skilled eye cannot distinguish from real wood at normal viewing distance. What clients gain is performance certainty: a product that looks the same on installation day as it will in year 15.
Share:
Similar articles


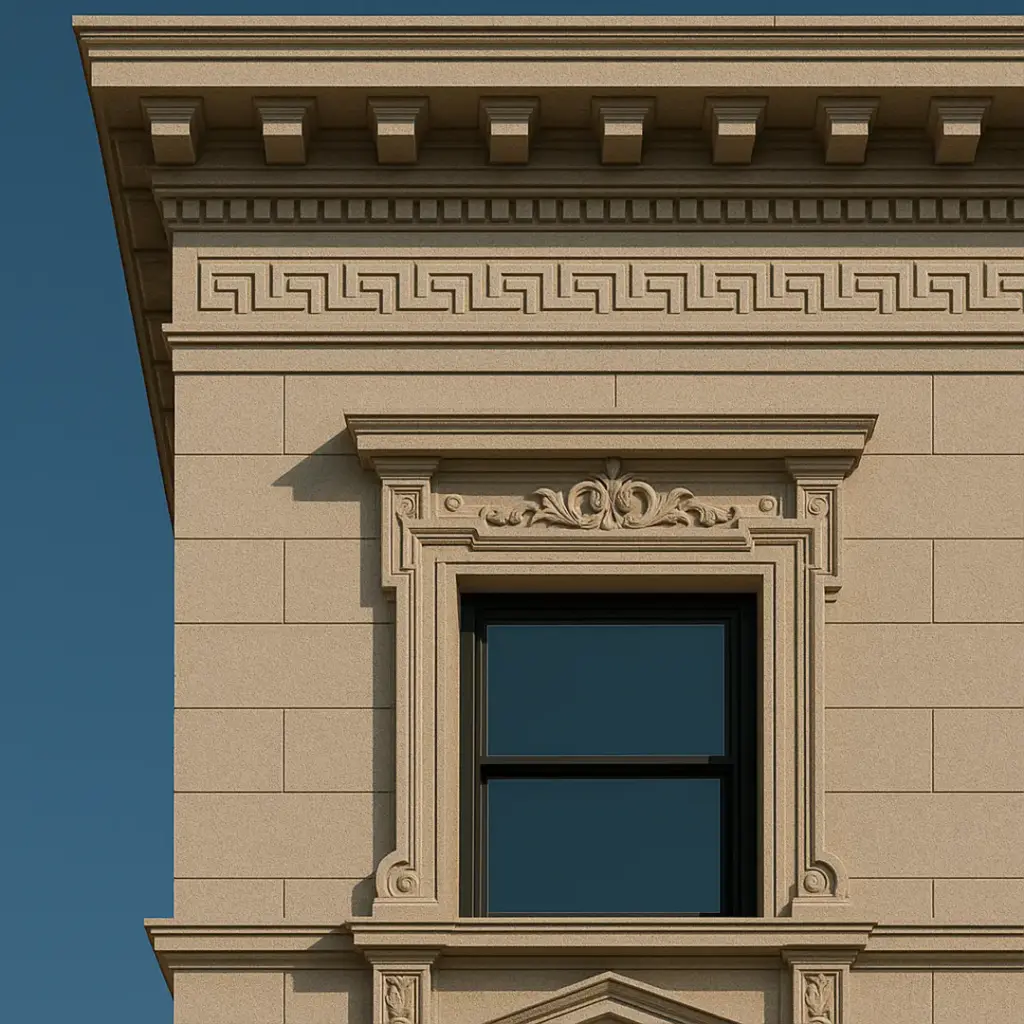
What we do
We provide architects, builders, and homeowners with turnkey decorative elements that transform any project — fast, easy, and cost-effective.
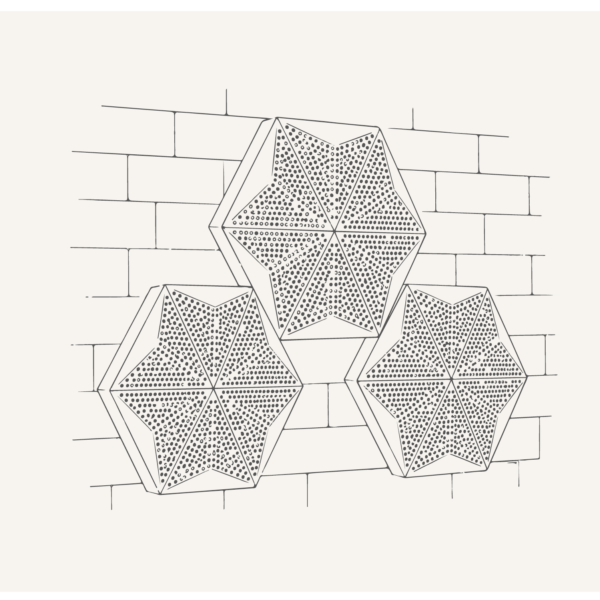
Acoustic Panels Systems
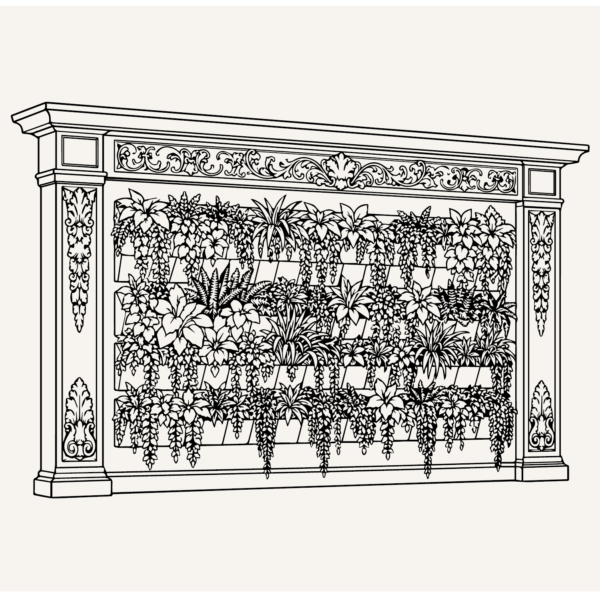
Green Wall | Vertical Garden Panel Systems
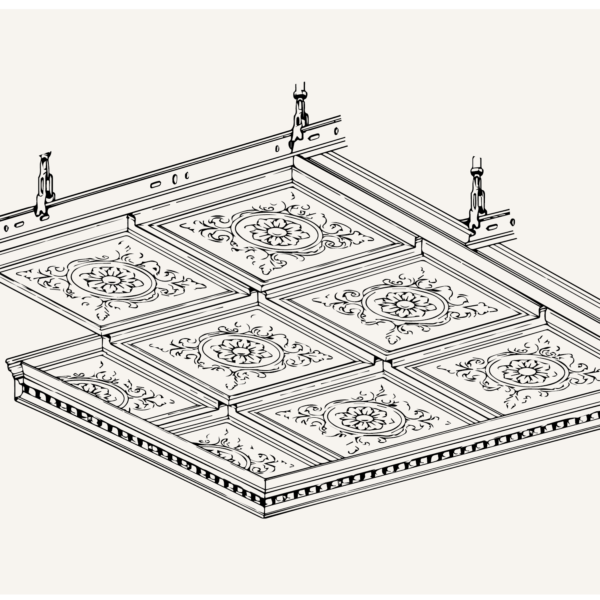
Suspended Ceiling Systems
Acoustic Ceiling Systems
Stucco Mailboxes and Lamp Posts kits
Stucco Architectural Fencing Systems
Faux Stone Column Wraps
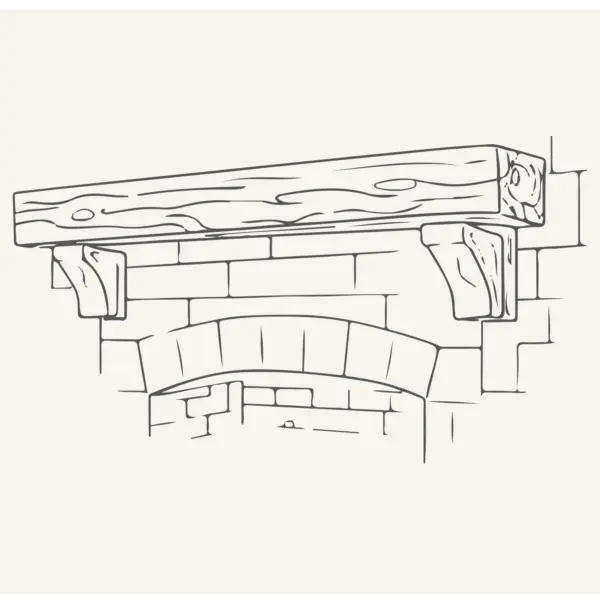
Faux Wood Mantels
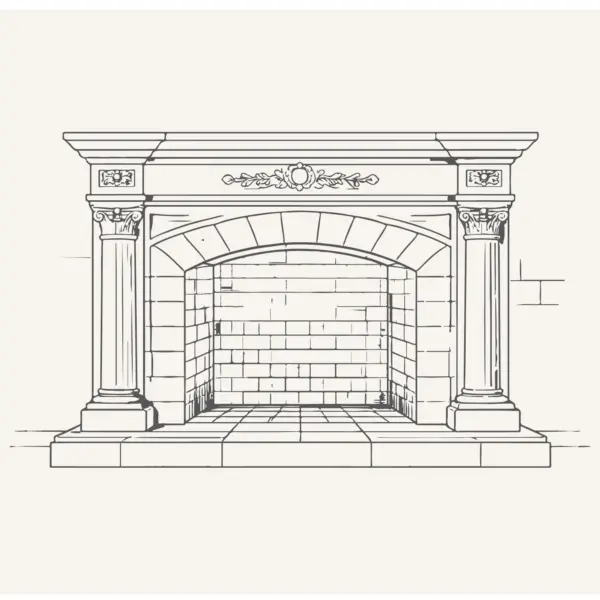
Fireplace surround kits
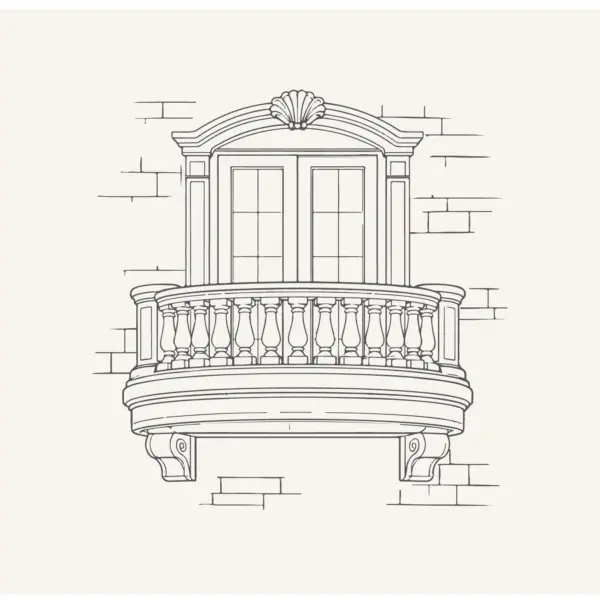
Juliet Balcony Decorative kits
Get Your Free Catalog
Our catalog is designed to inspire architects, builders, and homeowners alike.
Have a question or suggestion? Write us or call us—we’re here!
Decorative architectural products manufacturer for interior and exterior applications.
25+ years of experience.
100% Made in the USA — factory in Jacksonville, Florida.
Get Your Free Catalog
Our catalog is designed to inspire architects, builders, and homeowners alike.
Have a question or suggestion? Write us or call us—we’re here!
Decorative architectural products manufacturer for interior and exterior applications.
25+ years of experience.
100% Made in the USA — factory in Jacksonville, Florida.