January 7, 2026 • STAFF WRITER
Exterior Polyurethane Trim and Molding for Homes – Benefits, Waterproof Properties, Durability, and Painting Guide
Introduction
Picture this: you’ve just repainted your home’s exterior, the color looks great, and then you notice it. The wood window trim is soft in one corner, slightly darker than the surrounding paint, and when you press it, there’s a little give. Rot. Again. If you’ve been through this cycle more than once, you already know what it costs – not just in money, but in the frustration of maintaining something that keeps failing in the same spot. That’s exactly the problem polyurethane trim exterior products were built to solve. Not by promising magic, but by being a fundamentally different material that doesn’t absorb water, doesn’t feed insects, and doesn’t swell when the seasons change.
This article covers what polyurethane exterior molding actually is, why it performs the way it does, how long it holds up in real conditions, and how to paint it correctly so the finish lasts. If you’re considering it for windows, doors, a full facade update, or decorative crown work, you’ll find specific answers here.
What Polyurethane Exterior Trim Actually Is - and Why the Material Matters
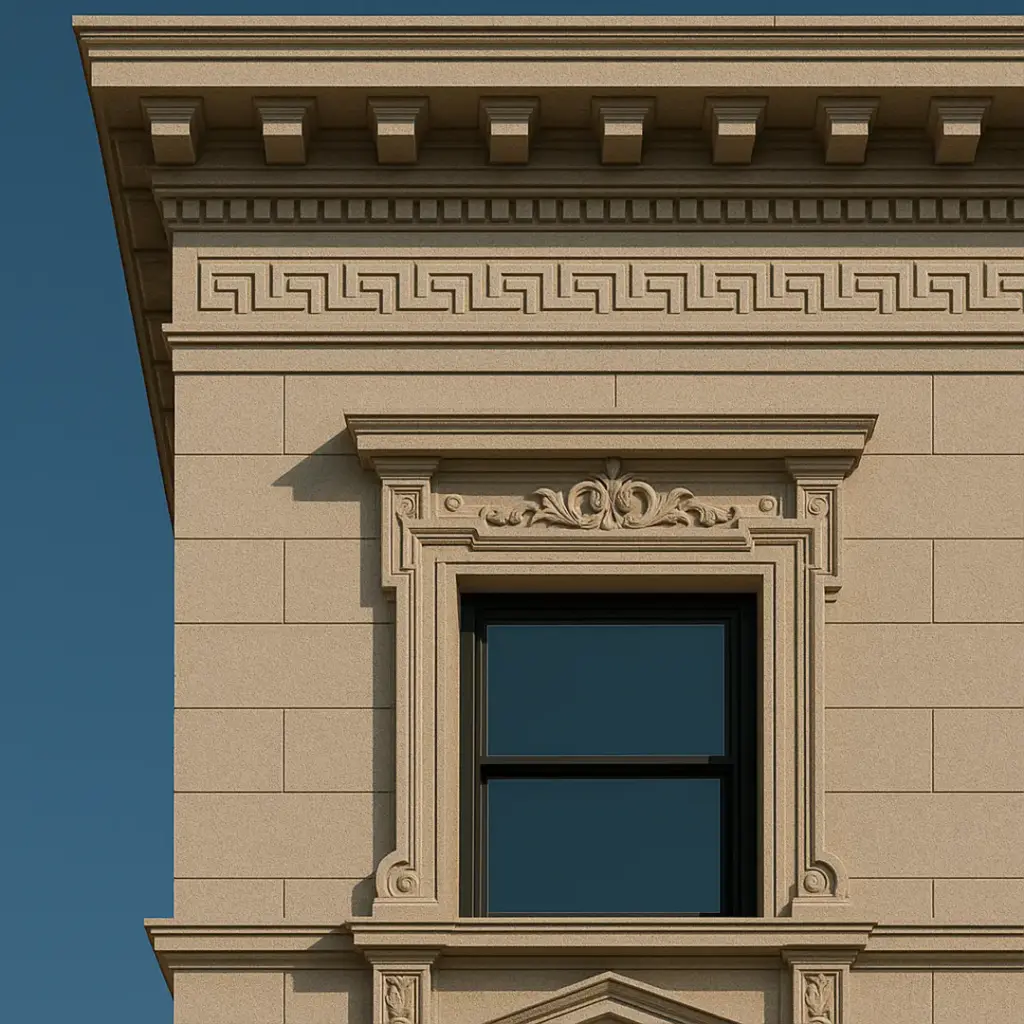
Polyurethane is a synthetic polymer – a plastic-based foam material that gets formed under pressure into rigid shapes. The end product looks like wood trim. It has crisp profiles, clean lines, and the kind of detail you’d expect from traditional millwork. But it doesn’t behave like wood at all, and that’s the whole point.
Wood trim fails for predictable reasons. It absorbs moisture through its end grain and face, swells, then dries and shrinks. Over years of that cycle, it cracks, warps, and eventually rots. Insects – particularly termites and carpenter ants – can move in. Paint adhesion suffers because the surface underneath is constantly moving. Even with the best primer and paint, wood trim on exterior exposures needs attention every few years if you want it to stay looking right.
Polyurethane molding exterior products don’t have any of those vulnerabilities. The material is closed-cell foam, which means there’s no network of open pores for water to enter. It doesn’t swell. It doesn’t shrink. It doesn’t crack from freeze-thaw cycles the way wood or even fiber cement can. And there’s nothing in it that insects want to eat.
What you’re looking at here is a material that stays dimensionally stable. A piece of polyurethane window trim installed around a double-hung window in a cold northern climate will be the same shape and size in January as it was in August. That stability matters for paint adhesion, for caulk joints, and for the overall appearance of the trim over time.
The density of the material varies by manufacturer and product line. Higher-density polyurethane architectural trim holds detail better, takes paint more cleanly, and resists surface dents more effectively. When you’re comparing products, ask about density – it’s a real performance difference, not just a marketing distinction. Some decorative polyurethane trim products aimed at the budget end of the market are softer and more prone to surface damage during installation and over time.
Weight is another practical factor. Polyurethane is significantly lighter than wood – typically 80 to 90 percent lighter than comparable wood profiles. For large-scale work like polyurethane crown molding exterior installations or full facade trim systems, that weight difference changes the installation process entirely. Fewer fasteners, easier handling on ladders, and less structural load on the substrate.
The Waterproof Case - How Polyurethane Handles Moisture and Weather
The waterproof claim is the one that gets repeated most often in product descriptions, and it’s worth understanding exactly what it means in practice. Polyurethane trim is waterproof in the sense that the material itself doesn’t absorb water. Rain hits it, runs off, and that’s the end of the interaction. There’s no absorption, no wicking, no retained moisture that leads to biological growth or material breakdown.
This is different from materials that are water-resistant or moisture-tolerant. Fiber cement, for example, handles moisture better than wood, but it’s still a cementitious product that can absorb some water at cut edges and through surface damage. Engineered wood products like LPE or composite trim are more stable than solid wood, but they still have some moisture sensitivity, particularly at exposed ends. Polyurethane trim waterproof performance is more absolute – the material simply doesn’t interact with water the way cellulose-based products do.
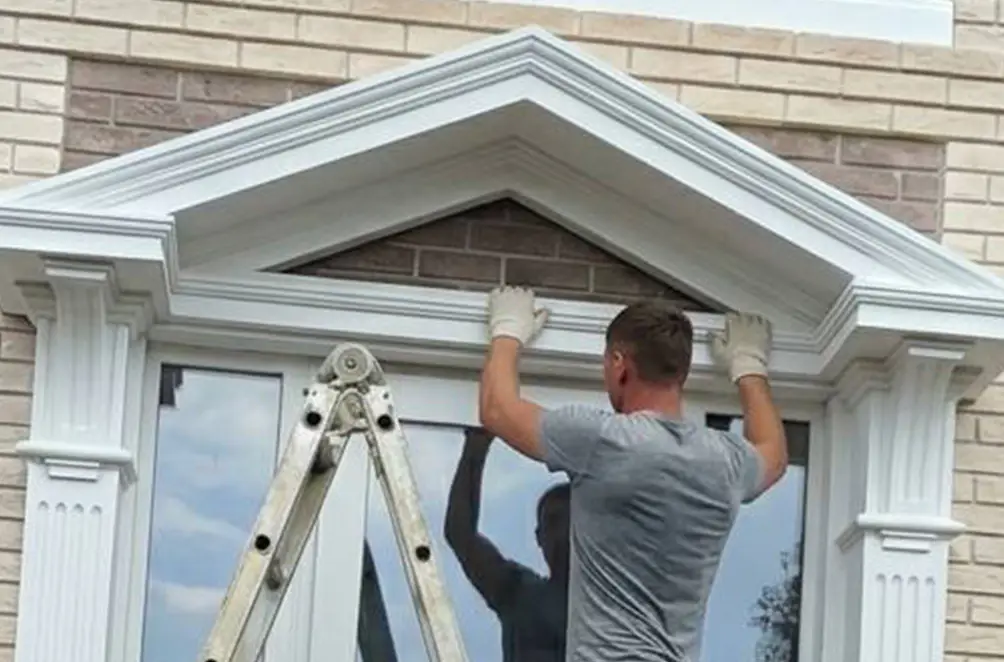
In practical terms, this matters most in a few specific situations. Window and door trim are the highest-risk locations on any exterior. Water runs down from the window frame, collects at the sill, and sits against the trim. In a wood system, that’s where rot starts. With polyurethane window trim, the water has nowhere to go except away from the surface. The trim stays intact, and the caulk joint – not the trim material – becomes the thing to monitor.
The same logic applies to polyurethane door trim. Door frames take a lot of weather exposure, particularly on the sides facing prevailing rain. They also get touched frequently, which means the finish gets worn down faster than trim in other locations. The substrate staying stable means that when you do need to repaint or touch up, you’re working on a sound surface rather than trying to stabilize something that’s already compromised.
In climates with hard winters, the freeze-thaw cycle is a particular concern. Water that gets into a porous material and then freezes expands, and that expansion damages the material from the inside. Polyurethane facade trim doesn’t have that problem because there’s no water inside the material to freeze. It handles temperature swings well – most products are rated for a service temperature range from around -40°F to 180°F, which covers essentially any residential climate in North America or Europe.
One honest caveat: the caulk and fastener points are still potential water entry locations into the wall assembly behind the trim. Polyurethane trim itself won’t fail from moisture, but a poorly caulked joint can still allow water behind the trim and into the sheathing. The trim material is only part of the weatherproofing system. Installation quality still matters.
How Durable Is Polyurethane Molding - Real Performance Over Time
Durability is where polyurethane exterior molding earns its reputation, but it’s worth being specific about what kind of durability you’re getting – and where the limits are.
The material doesn’t rot. That’s not a conditional statement – there’s no biological process that breaks down polyurethane foam the way fungi break down wood. It doesn’t support mold growth on its surface the way organic materials do, though surface mold can grow on any exterior surface that stays damp and dirty. Regular cleaning handles that. The structural integrity of the trim itself isn’t affected.
It doesn’t crack from moisture cycling, as covered above. But it can be damaged by impact. High-density polyurethane architectural trim is reasonably impact-resistant, but a hard enough hit – a ladder, a baseball, a piece of hail in a severe storm – can dent or chip it. This is a genuine trade-off compared to wood, which is more impact-resistant. The dents can be filled with exterior-grade filler and repainted, so it’s repairable, but it’s worth knowing.
UV exposure is the other long-term factor. The material itself is UV-stable, but the paint system on top of it isn’t immune to UV degradation. Polyurethane trim house exterior installations in high-sun climates will need repainting on a schedule similar to any other exterior trim – typically every 8 to 15 years depending on paint quality, color, and sun exposure. Dark colors absorb more heat and tend to need attention sooner. This isn’t a weakness unique to polyurethane; it’s just the reality of exterior paint in sun-exposed locations.
Insect resistance is complete. There’s nothing in polyurethane that termites or carpenter ants can use as food. They won’t tunnel through it, and they won’t nest in it. For homes in termite-prone regions – much of the southern United States, parts of Australia, and tropical climates generally – this is a significant practical benefit. Wood trim in those areas needs treatment and regular inspection. Polyurethane molding products don’t.
For decorative polyurethane trim – corbels, brackets, dentil molding, keystones, and similar elements – durability over time is especially relevant because these pieces are often in locations that are difficult to access for maintenance. A polyurethane corbel under a soffit that you installed 20 years ago should look essentially the same as it did when you put it up, assuming it was painted properly at installation. That’s a realistic expectation with quality products, not an exaggeration.
The lifespan question gets asked a lot. Most manufacturers cite 20 to 30 years as a conservative estimate, and there are installations from the early adoption period of these products – the 1990s – that are still performing well. The honest answer is that the material itself will likely outlast the paint system on it, and the paint system will outlast most homeowners’ patience for repainting.
How to Paint Polyurethane Trim - Getting a Finish That Actually Lasts
Most polyurethane molding house products come factory-primed. That primer coat is applied specifically to the polyurethane surface and is the right foundation for the topcoat. Don’t sand it off. Don’t assume you need to apply your own primer over it. The factory prime coat is doing its job, and adding an incompatible primer on top of it can actually cause adhesion problems.
Before you paint, inspect the surface. Look for any damage from shipping or handling – small chips or dents should be filled with a two-part exterior filler or a paintable polyurethane caulk before priming the repair. Sand those filled areas smooth, spot-prime them, and then proceed with the topcoat. If the factory primer has been damaged or has been sitting exposed for more than a few months, a light scuff with 150-grit sandpaper and a fresh coat of a high-quality exterior primer over the whole piece is the right call.
For the topcoat, use 100% acrylic latex exterior paint. It bonds well to the primed surface, remains flexible through temperature changes – which matters even though the polyurethane itself is dimensionally stable – and holds color well. Oil-based paints work too, but they’re less flexible over time and in cold climates can become brittle. Stick with acrylic.
Color choice affects how the trim performs over time. Light colors – whites, creams, light grays – reflect UV and heat, which means the paint film lasts longer and the surface stays cooler. Dark colors absorb heat, and in direct sun, a dark polyurethane exterior decor element can get quite hot. The material handles the heat – it’s rated for temperatures well above what exterior surfaces reach even in summer – but the paint film degrades faster. If you want a dark color, use a high-quality paint with UV inhibitors and expect to repaint on a shorter cycle.
Application method matters. Brush application gives you the best penetration into any texture or profile detail, and for polyurethane crown molding exterior work with complex profiles, a brush is the practical choice. Spray application gives a smoother finish on flat runs of trim. Rolling is fine for large flat pieces. Whatever method you use, apply two coats – the factory prime coat is a base, not a finished coat.
Caulking is part of the paint process, not separate from it. All joints between polyurethane trim and the wall surface, window frame, or adjacent trim pieces need to be caulked with a paintable exterior caulk before the topcoat goes on. Use a caulk that’s rated for the materials it’s bridging, apply it neatly, tool it smooth, let it cure, and then paint over it. Caulk applied after painting looks worse and tends to peel at the edges sooner.
One thing to avoid: don’t use solvent-based strippers or harsh chemical cleaners on polyurethane trim. The material is resistant to water but can be damaged by strong solvents. If you need to remove old paint for a repaint, use a heat gun carefully or a gentle chemical stripper rated for use on plastics. For routine cleaning before repainting, warm water and a mild detergent is all you need.
Share:

Similar articles




What we do
We provide architects, builders, and homeowners with turnkey decorative elements that transform any project — fast, easy, and cost-effective.
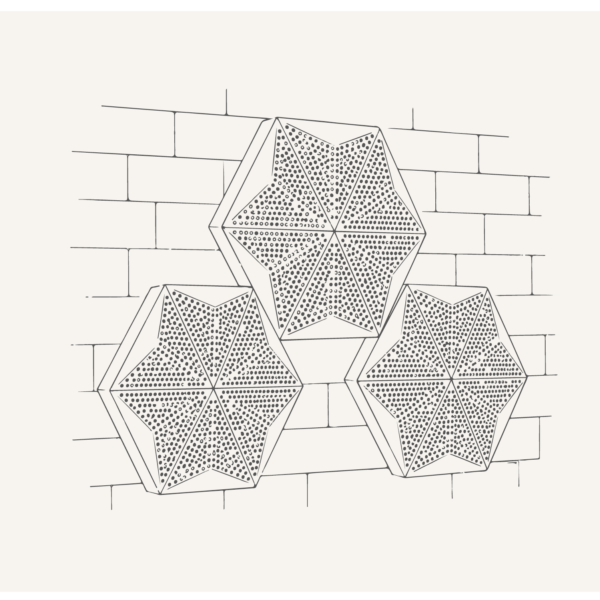
Acoustic Panels Systems
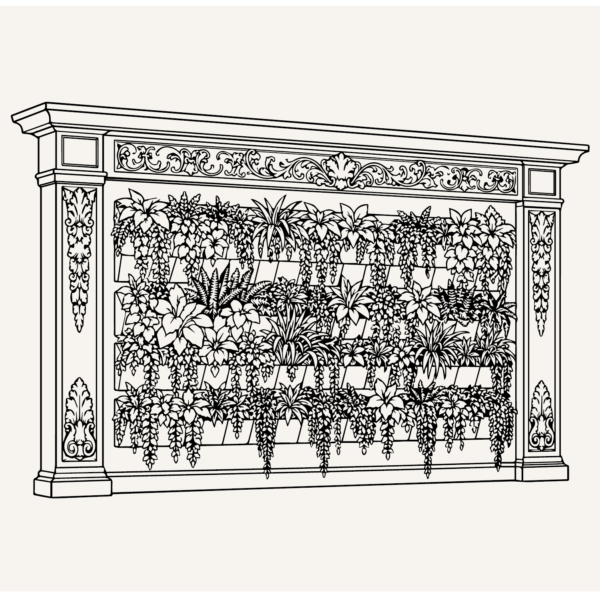
Green Wall | Vertical Garden Panel Systems
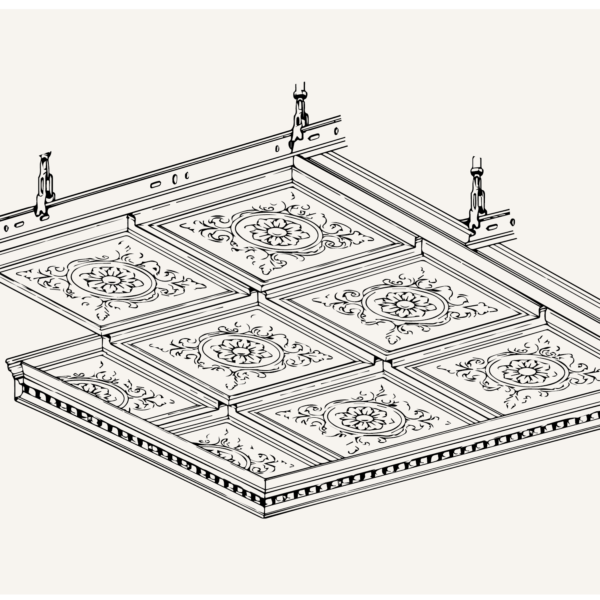
Suspended Ceiling Systems
Acoustic Ceiling Systems

Stucco Mailboxes and Lamp Posts kits
Stucco Architectural Fencing Systems
Faux Stone Column Wraps
Faux Wood Mantels
Fireplace surround kits

Juliet Balcony Decorative kits
Get Your Free Catalog
Our catalog is designed to inspire architects, builders, and homeowners alike.
Have a question or suggestion? Write us or call us—we’re here!
Decorative architectural products manufacturer for interior and exterior applications.
25+ years of experience.
100% Made in the USA — factory in Jacksonville, Florida.
Get Your Free Catalog
Our catalog is designed to inspire architects, builders, and homeowners alike.
Have a question or suggestion? Write us or call us—we’re here!
Decorative architectural products manufacturer for interior and exterior applications.
25+ years of experience.
100% Made in the USA — factory in Jacksonville, Florida.